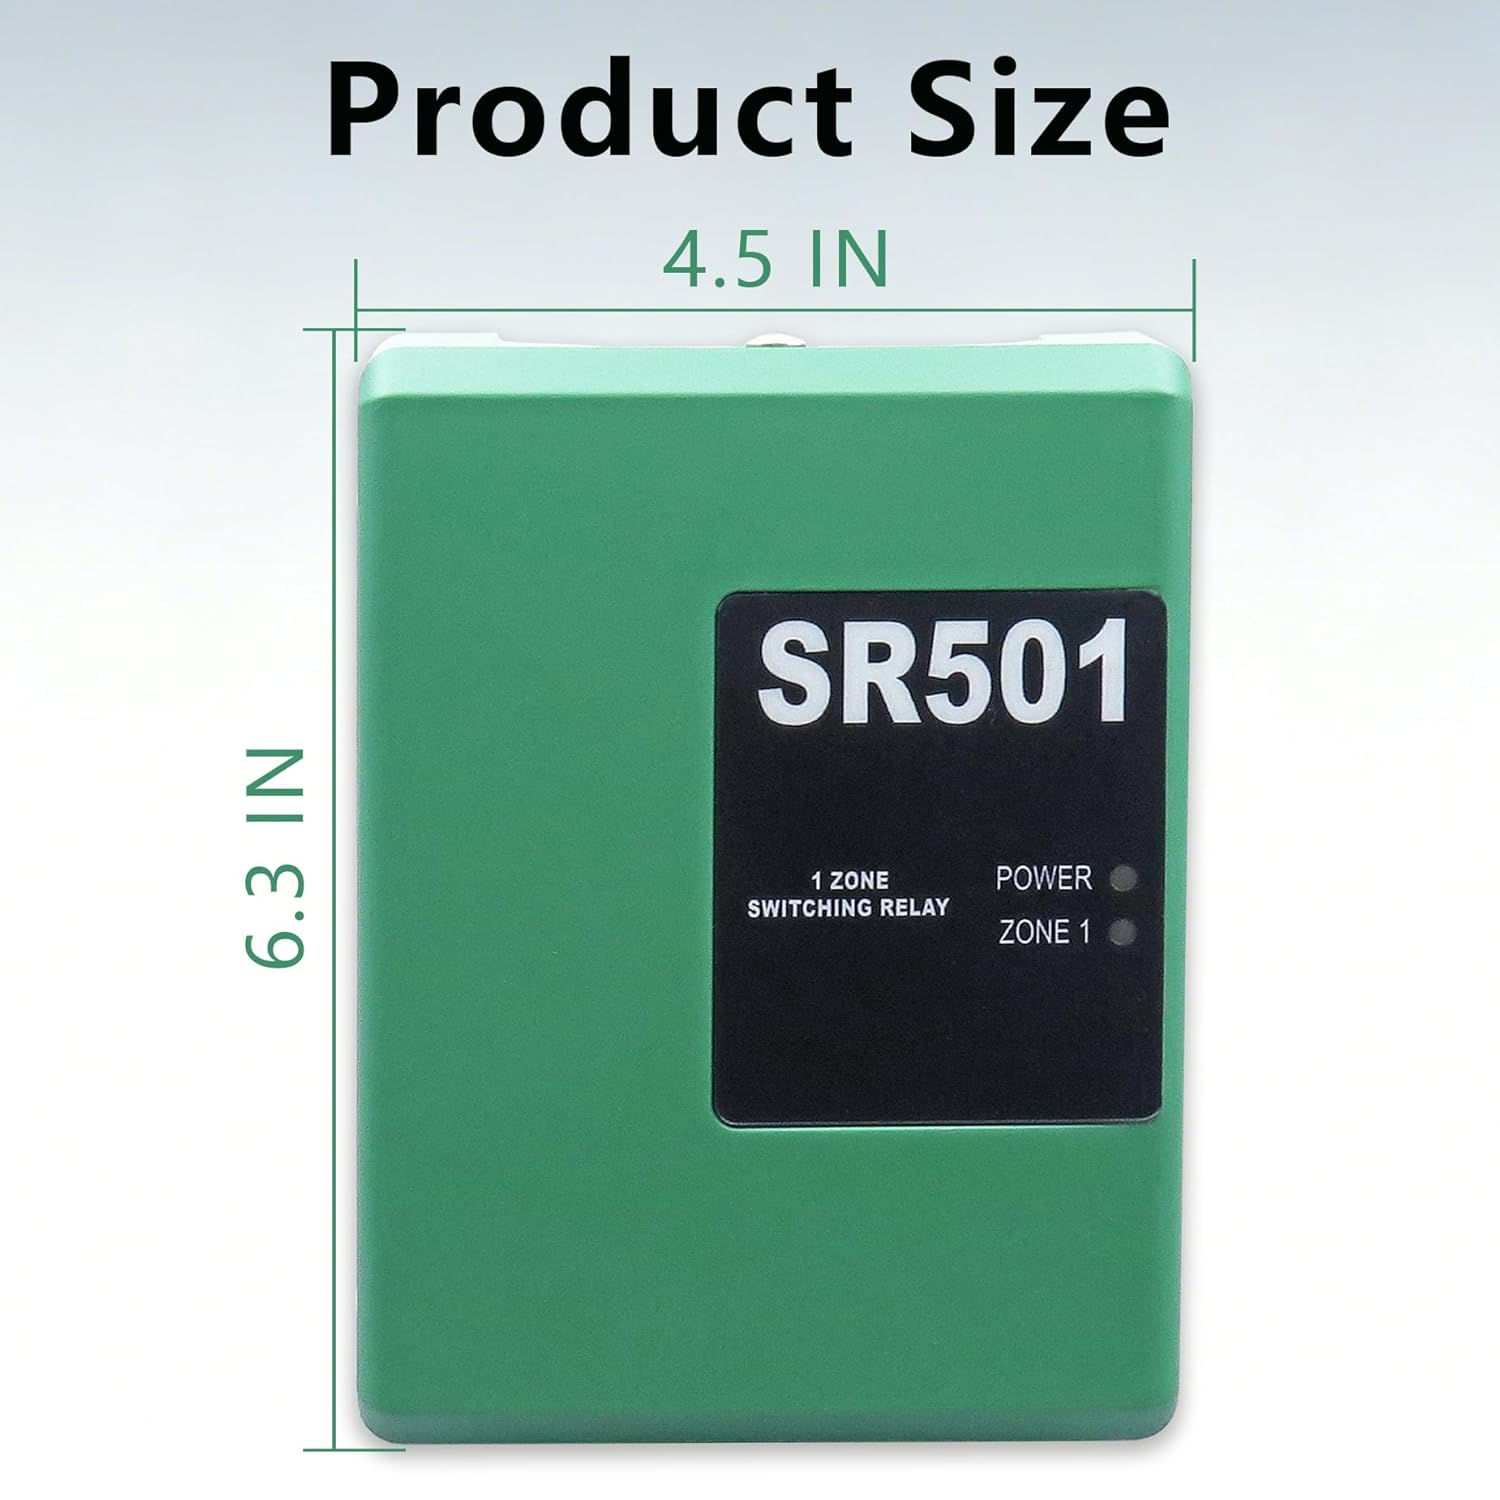
A switching relay is the electrical traffic cop inside a hydronic (hot-water) heating system. When a thermostat calls for heat in a given zone, the relay responds by energizing the circulator pump — the device that moves heated water through the pipes — and signaling the boiler to fire. Without a functioning relay, those signals never connect, and rooms stay cold. Most homeowners never think about the relay until the day they start hearing an incessant clicking from the mechanical room, or notice that a zone has stopped heating entirely. That clicking sound is the relay’s coil or contact mechanism failing — an electromechanical part cycling on and off rapidly instead of holding a clean, steady connection. This article walks through what the owner community has learned about relay lifespan, how to distinguish a relay failure from a zone valve power head failure (a closely related but distinct component), and how to perform a clean replacement before a failing relay damages your circulator or boiler controls.
The Six-Year Failure Pattern: What Aggregated Owner Reports Actually Show
The most candid real-world data on relay lifespan doesn’t come from spec sheets — it comes from owners who have lived through the failure. Across aggregated long-run reviews, a consistent timeline has emerged around the Azel SP-83, a widely installed switching relay common in residential multi-zone hydronic systems. Owners independently and repeatedly describe the same sequence: the relay performs without incident for five to seven years, then begins an incessant clicking that signals the end of its service life. One reviewer’s phrase — “death by clicking in 6 years” — has been echoed almost word-for-word by other SP-83 owners, which is the kind of cross-validation that elevates anecdote to pattern.
What’s happening mechanically? The relay inside a switching relay module is an electromechanical component — a coil that generates a magnetic field to pull a set of contacts together, completing the circuit that runs the pump and boiler. As the coil ages, its resistance characteristics drift. As the contacts wear or oxidize, they lose the ability to hold a clean connection. The result is a relay that chatters: closing and opening the circuit in rapid succession rather than maintaining a stable state. This rapid cycling causes the audible clicking and, critically, puts the circulator pump through repeated start-stop stress that can shorten the pump’s life independently.
By the numbers:
| Relay Type | Reported Mean Time to Clicking Failure | Typical Replacement Complexity |
|---|---|---|
| Azel SP-83 | ~6 years (owner-reported) | Moderate — wire-for-wire swap |
| Generic switching relay (builder-grade) | 5–10 years | Variable by wiring layout |
| Taco SR501-compatible | Comparative baseline | Straightforward with photo reference |
Per HPAC Engineering’s coverage of hydronic system controls, electromechanical relays in residential HVAC applications are generally rated for millions of mechanical operations, but thermal cycling, voltage spikes, and contact arcing from inductive loads (like pump motors) erode that ceiling significantly in real installations.
Relay Failure vs. Zone Valve Power Head Failure: Don’t Misdiagnose the Problem
This is the diagnostic fork that trips up practitioners who are new to hydronic zoning. A zone valve is a motorized valve that physically opens and closes to allow or block water flow in a specific zone. The power head is the actuator that sits on top of the valve body — it contains a small motor or wax-element actuator and an end-switch that signals the relay when the valve is fully open. When the power head fails, the zone valve doesn’t open, the end-switch never closes, and the relay never receives the signal to energize the pump. The symptom — no heat in a zone, pump not turning on — is nearly identical to a relay failure.
Reviewers of the Taco zone valve power head confirm exactly this scenario: a 25-year-old valve failing causes zone heat loss and pump inactivity, which looks electrically identical to a dead relay. This Old House’s hydronic system guides note that zone valve power heads are consumable components with service lives that parallel or exceed relays, but age-related actuator failure is common in systems installed before 2005.
How to distinguish them at the panel:
- Check for 24V at the zone valve terminals. If the thermostat is calling and you have 24V at the zone valve’s control terminals but no valve movement, the power head has failed — not the relay.
- Manually open the zone valve. Most zone valves (Taco 570 series, Honeywell V8043 series) have a manual lever. If opening it manually causes the pump to run and the zone to heat, your relay is functional and the power head is the culprit.
- Listen to where the clicking originates. Relay clicking comes from the control panel or relay enclosure. A chattering zone valve actuator produces a different, less rhythmic sound at the valve body itself.
- Check for 24V across the relay coil terminals. No voltage with a valid thermostat call points to a wiring or thermostat issue upstream. Voltage present but relay not closing points to a failed relay coil or contacts.
Contracting Business’s zone control wiring guides emphasize that misdiagnosis here is expensive: replacing a relay when the power head is the failure mode wastes parts and labor and leaves the root cause unresolved.
Replacing a Switching Relay: The Wiring Photo Rule Is Not Optional
Owner reports across multiple product lines converge on a single procedural lesson that practitioners ignore at their cost: photograph every wire before disconnecting anything. Among owners who documented this process in their reviews, those who photographed the existing wiring before removal consistently described smooth, same-day replacements. Those who did not photograph first reported confusion, reversed wires, and in some cases non-functional systems that required a second troubleshooting session.
This matters more than it sounds. A switching relay like the Azel SP-83 or the SR501-compatible aftermarket replacement (which owners describe as a direct drop-in and report as performing well as a Taco replacement) carries multiple wiring terminals: 24V thermostat inputs for each zone, 120V circulator pump output(s), boiler enable terminals, and ground. In a multi-zone system, those terminals multiply. A wire in the wrong terminal doesn’t just fail silently — it can backfeed 24V into a 120V circuit, damage the new relay immediately, or create a situation where the pump runs constantly because the enable circuit is incorrectly wired.
Step-by-step replacement framework:
- Kill power at the breaker — both the 120V supply to the relay panel and the 24V transformer if it’s on a separate circuit. Verify with a non-contact voltage tester before touching any terminals.
- Photograph from multiple angles — close-up on each terminal cluster, wide shot of the full panel. Do this before loosening a single screw.
- Label each wire with painter’s tape as you remove it. Terminal number plus zone identifier (e.g., “TT1 — Zone 2 thermostat”).
- Compare the new relay’s terminal layout to the old one. SR501-compatible replacements are designed to match the SP-83 terminal-for-terminal, but verify — terminal labeling conventions can vary slightly between manufacturers.
- Re-energize in sequence: restore 24V first, verify thermostat calls are registering at the new relay, then restore 120V and test each zone.
Family Handyman’s baseboard and zone valve troubleshooting content reinforces that homeowners with basic electrical comfort can perform this swap — but the key qualifier is basic electrical literacy and the willingness to be methodical. If you’re not comfortable identifying 120V live terminals or using a voltage tester, a licensed HVAC technician is the right call.
ACHR News coverage of hydronic controls troubleshooting notes that incorrect relay wiring is among the most common callbacks following DIY zone control work, almost always attributable to skipped documentation before disassembly.
Should You Replace Zone Valve Power Heads at the Same Time?
When a relay in a six-year-old system fails, the power heads on the zone valves are the same age. This is the “while you’re in there” question, and the honest answer depends on system history and your tolerance for a second service call.
The case for replacing all power heads simultaneously:
- Power heads in the same vintage system are on the same aging curve. If one is failing, others are approaching the same threshold.
- Valve body access is already disrupted during relay work. Swapping a power head is a 10-minute operation per zone once you’re working in the panel area.
- The cost of a second service visit (labor only) typically exceeds the cost of proactive power head replacement by a significant margin in 2026 labor markets.
The case against blanket replacement:
- If all zone valves are functioning cleanly and passing the manual-lever test, there is no mechanical reason to replace functional parts.
- In systems with Taco 570-series or Honeywell V8043-series valves that have been clean through six years, the power heads may have another decade of service.
The pragmatic decision rule: if any zone valve power head shows sluggish actuation (valve takes more than 60 seconds to fully open), produces its own clicking or buzzing, or is from a manufacturer with a documented early-failure pattern, replace it concurrently. If all valves actuate crisply and the end-switch signals arrive cleanly at the relay terminals, document their condition and set a calendar reminder to re-evaluate in two years.
Frequently Asked Questions
How do I know if the clicking is the relay or the zone valve power head? Locate the sound. Relay clicking comes from the relay enclosure or control panel — a rapid, mechanical chatter. Zone valve actuator noise occurs at the valve body itself and tends to be less rhythmic. Confirm with voltage testing: 24V at the zone valve control terminals with no valve movement points to a power head failure. A relay that chatters even when no thermostat is calling points to a failed relay coil or stuck contacts.
Is the Azel SP-83 wiring compatible with a Taco SR501 replacement? Owners who have made this swap report it as a direct drop-in, and the SR501-compatible aftermarket replacement receives consistent praise for this compatibility. Verify terminal labeling on both units before wiring — configurations are closely matched but not always identical across production runs. Your pre-removal photographs are the insurance policy here.
Can I replace a switching relay myself without an HVAC technician? Yes, if you are comfortable working around 120V circuits, can identify live terminals with a non-contact voltage tester, and are willing to be methodical about documentation. The task is electrical work, not HVAC work — no refrigerants, no combustion, no gas lines. If any of those conditions don’t apply, hire a technician. The labor cost is modest relative to the risk of a wiring error.
Why does my circulator pump run constantly after a relay starts clicking? A failing relay whose contacts are stuck in the closed position will continuously energize the pump regardless of thermostat demand. This is not just a comfort problem — continuous pump operation without a corresponding boiler call can cause the system to cool below minimum operating temperatures and, in systems without low-water cutoffs, may create other operational issues. Treat a continuously running pump as an urgent diagnosis, not a background annoyance.
How long should a hydronic switching relay realistically last? Owner-reported data puts the realistic lifespan at five to ten years for residential-grade relays under normal conditions. The six-year failure pattern documented by Azel SP-83 owners is consistent with the lower end of that range for systems with multiple daily thermostat cycles. Premium relay modules with sealed contacts may extend that ceiling, but electromechanical components in inductive-load applications have inherent wear curves that no spec sheet fully captures.
Should I replace all zone valve power heads when I replace the relay? Assess them individually rather than applying a blanket rule. If power heads pass a functional check (full open within 60 seconds, clean end-switch signal), defer replacement. If any show sluggish actuation or are the same age as the failed relay in a high-cycle system, replace them concurrently to avoid a second service event. The labor math almost always favors proactive replacement if you’re already working in the mechanical room.